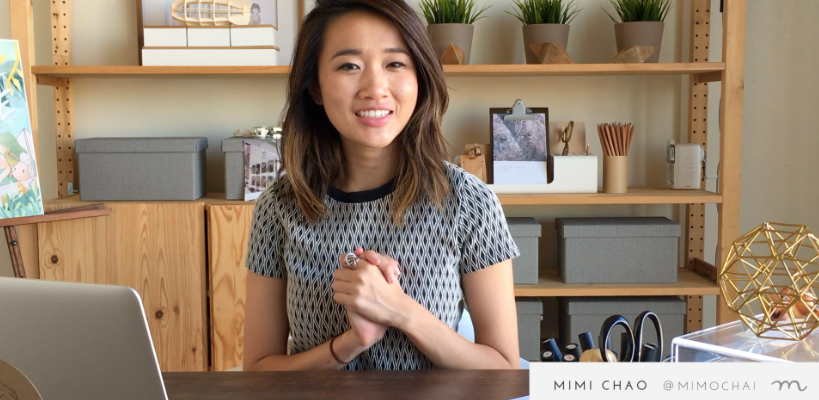
Filming the Skillshare videos was a great experience, as mentioned in my last post. Since it did a lot better than I expected (almost 800 students now! crazy), I hope to make more later this year.
In the meantime, thought I’d share a few things I learned along the way that I wish I knew at the start. Mostly to save time. *Please keep in mind I’m a total video n00b so these are meant for people like me ^^*
1. A good mic—it’s worth it.
So I didn’t own a dedicated mic but I also didn’t really think I should invest in one just for this video series. I was recording just through my laptop’s speakers when I first started, and sound quality was amateur. You could definitely tell I was just recording through the laptop. When I rejoined the Teacher Challenge in February, I won one of the first round of prizes which was a Snowball Mic.

I was happy to win something (I’m one of those people who never wins anything luck-based, so thankfully this was more merit-based), but I didn’t realize how much of a difference this mic would make to my class! This little mic proved to take the quality of my videos’ sound to way way better level. It’s pretty cute and fit in with my studio space too, which I of course appreciated 🙂 * This is totally not a sponsored post. I just like the thing. It has a lot of good reviews on Amazon too.
In retrospect this would have been worth getting to begin with. I use it now to videochat too, and will be depending on it for any future voice recordings I do. I don’t imagine needing anything more advanced anytime soon. $43 is not cheap, but also not too bad for something that is so useful and looks like will last for a while.
2. iMovie files get HUGE.
Aka make sure you have enough harddrive space. If you are going to use iMovie, which is pretty beginner-friendly, be prepared that if you are chopping up a bunch of video files your iMovie file is going to get huge.
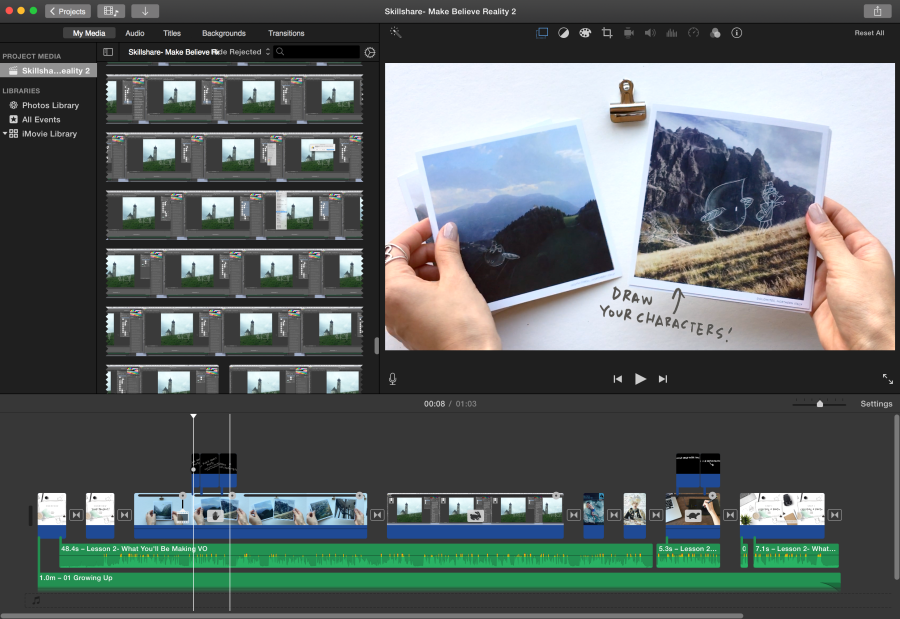
I don’t mean the final file you export, which you expect is going to be big (e.g. maybe 1GB for a 10 min not too complicated video). I mean the working file iMovie. So I was editing my videos and my computer kept telling me I was running out of space. I honestly wasted so much time trying to clean up my computer to no avail. Then I realized it’s because the iMovie file itself was eating up all available space. It was literally about 70 GBs!!! That’s not a typo. Seventy gigabytes.
So I was desperately researching in the middle of the night to figure out why, and it seems it’s just because I was clipping a lot of the videos (n00b style editing?) and iMovie is nondestructive, so I guess the file was creating full versions of my very long screencasts over and over. And you can’t stop it from doing that. [I feel like Apple does this sometimes/all the time, where it thinks it knows best for its consumers (which I feel like they assume we are, on average, dumb) and makes all sorts of data storage decisions for us. And makes it not possible to change. See also, iPhoto.]
I was on a crunch to finish these videos, so I ended up just having to save out each video file as I finished, move the working file onto an external, and deleting it off my Macbook. For the longest video I couldn’t even do that, so I had to export the video at a stop point, reimport it as a single video file, and keep going.
I asked my friend who does video editing about this (he uses Premiere Pro) and he said yes, it’s just the nature of video files, they are large. So, I guess this is more a warning than a tip 🙂
3. You don’t need that much talking head.
At least for digital art classes. When I first started recording I spent a lot of time on talking head. E.g. I had all these scripts planned out, record them all a few times, keep messing up, re-recording, etc. It was time-consuming and I think partly contributed to why I shelved the effort for a month or two.

After watching some other good Skillshare classes more closely, I realized a lot of time don’t have much talking head after the intro, if any. I think it’s nice in the intro so people can see who you are, but after that, screencast and voiceover works just fine. And is less stressful in terms of getting everything right in a talking head. I don’t have to worry that my hair was out of place or I made a weird face or said UM too many times. I can just focus on audio and screencasting and video on their own, instead of basically all at once.
Maybe I’ll do more talking head later on, but for a beginner I think this takes some stress off your first go!
4. Record classes first, intro last.
This one is up to you, but here’s my take. As part of the challenge, Skillshare ordered the milestones where you create you intro video first. In retrospect, if I do another one, I’ll do it last. I ended up editing most of the first one I made because I could better speak to what I ended up filming for the course itself.
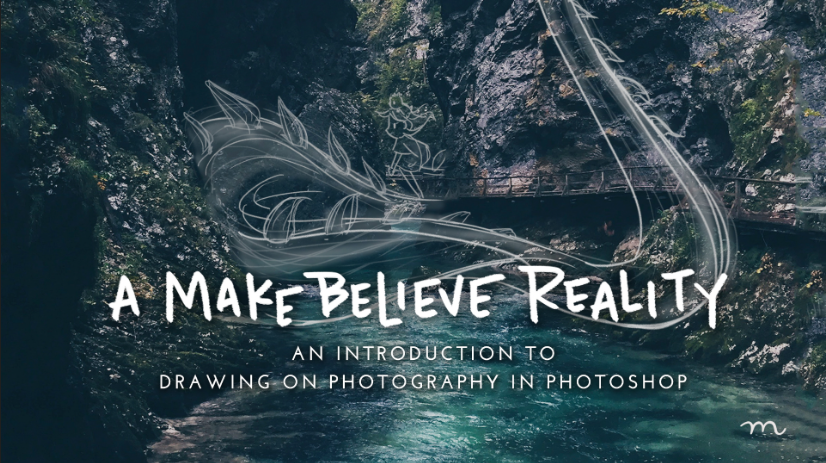
For example, I talked a lot more about tips and shortcuts than I expected, so I updated the intro to say that. I also changed the title card style once I started getting into the course itself. And I ended up using a lot more footage from the actual classes, which makes sense. A lot of things for the intro just came more naturally once I knew what the course actually was.
5. Make time for “merchandising.”
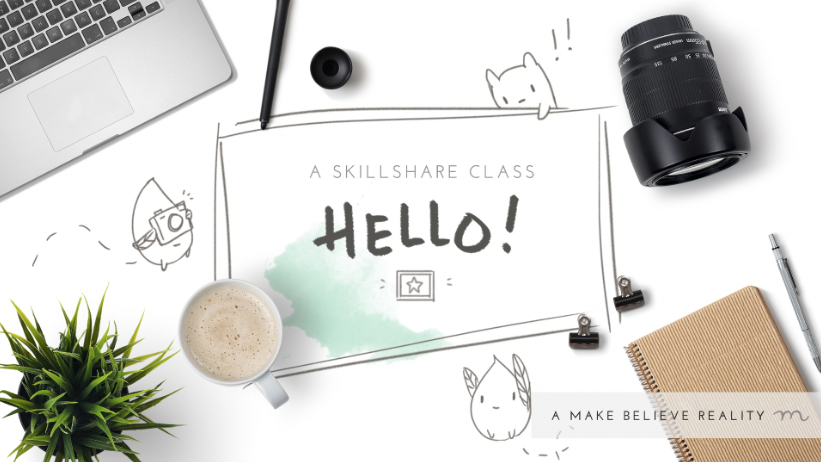
Speaking of title cards, I thought merchandising the course was a good exercise. It’s basically their term for branding your course. Creating title cards, handouts, etc. with a thought-out and consistent style. I think it helps set the tone for your course and gives a cohesive experience to people, and can also help make your courses recognizable outside of the Skillshare platform.
Actually, I should just make this last tip “Make Time.” This took me so much longer than I expected (honestly, I think cumulatively a full week from start to finish). I hear some people finish their course in a day or two, so it probably depends on how polished you want the video to be, how good you are at just getting a perfect capture in one shot, and how fast you are at editing. I admire people who can do it all fast! I hope I can too one day T_T
//
So, in sum:
- Invest in a mic. Nothing crazy, but a good one.
- Make sure you have enough diskspace to work with, external or not.
- If trying to get talking heads perfect is killing your time, remember you don’t really need much of it.
- Film/edit your intro last.
- Make time.
I hope that helps another video-beginner out there who is considering doing a Skillshare course, or any sort of teaching video for that matter!
Lastly, if you’re interested in creating a class I highly recommend the Teaching Challenges they host fairly often. It does make a difference to be guided through milestones (and they have some prizes as additional motivation) and have “classmates” who are going through it with you and can give you feedback. It’s very light hand-holding, so you do still need to have the self-discipline to finish 🙂
//
Update 2/27/2017
I now have two Skillshare classes! I should do a second post on everything new I learned (or reinforced) in the second class… it still took a really long time especially since I used more talked head.
In the meantime, I wanted to share two things:
- This blog post I wrote in general about “Why Skillshare?” because Reason #4 touches upon the teacher experience.
- A recent comment made me realize I should list out the basic equipment I used in case it’s helpful to see that you really don’t need much to get started!
- Macbook Pro
- iMovie for video editing
- Canon S100 point and shoot (over 5 years old! but does take HD video)
- Good lighting! I’m lucky I have good natural light in part of my house.
- Quicktime for screencasts
- Adobe Photoshop for creating graphics etc.
- Snowball Mic mentioned above
- Toshiba External 2TB Hard Drive
I’m glad this post has been useful to people!
-MC

loved this post 😀 What kind of camera did you use to film your class?
LikeLiked by 2 people
Thanks! I used an old Canon Power Shot S95 (still works great) for camera shots and QuickTime for screencasts. The new iPhones would honestly work well too. I got a simple tripod for the camera which was helpful so I didn’t need someone else to help me shoot.
LikeLiked by 1 person
Reblogged this on Avis the Artist.
LikeLike
This was an incredibly helpful post for a newby like myself who’s aspiring to eventually sell online courses from my own website. I’ve actually realised that I’ve been ‘self-sabotaging’ … forever …postponing my course creation by telling myself I need expensive HD quality Canon video cameras along with a new this & a new that !! Maybe one day but for now you’ve shown me that with afew reasonably priced accessories I can produce a reasonable quality class ‘upload ready for Skillshare.’ Hell I might even win one of their give aways Woop woop !!! Thanks and good luck in your future ventures !!!
LikeLiked by 1 person
Thanks Debbie! I’m so glad it was helpful. Your comment made me realize I should add the basic equipment I used 🙂 I agree you do not need super fancy equipment, just go for it. Good luck!
LikeLike
Thanks for these great tips – very helpful! I’m working on my first class right now and feel slightly overwhelmed. This post makes me feel much less freaked out.
LikeLike
Aw I’m glad it’s helpful, we’re all in this together 🙂 Best wishes with your first class!
LikeLike